
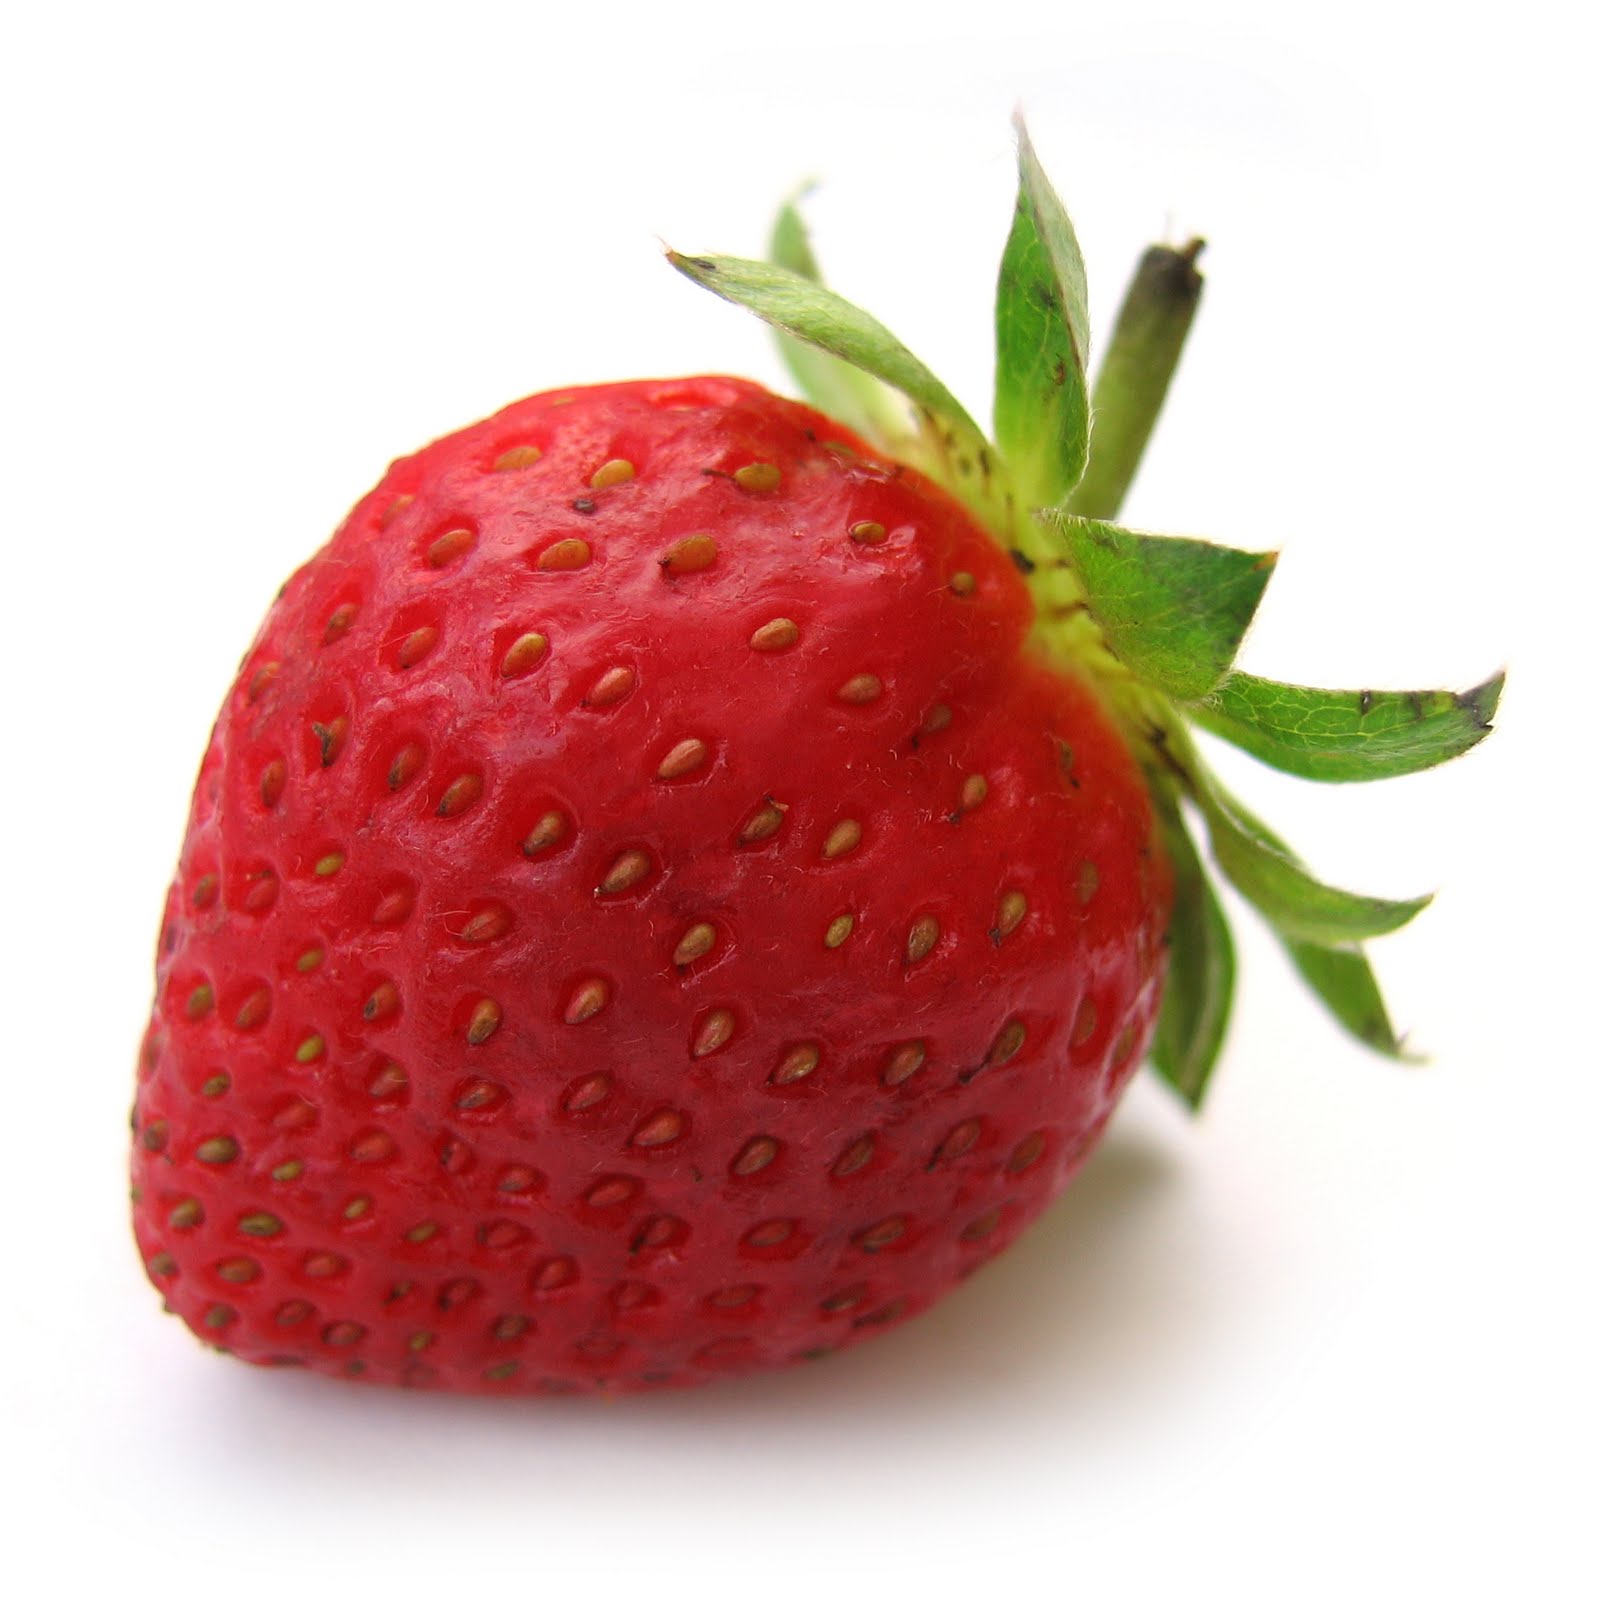
 chose this tutorial to follow for this blog. It tells you how to make a strawberry look like a bubble. The stock image I found from google is to the right. I used the bubble image from the tutorial after an unsuccessful google search for another one. It's very hard to find good stock images using google, especially when following specific tutorials like this.
 I started off just as the tutorial says. I liquified the bubble in the shape of the strawberry and desaturated it. I then copied the layer and set one of them to overlay. I then cut the red part of the strawberry from the original image onto a new layer and desaturated that as well. This is the point at which I took the 2nd image on the right.
 In order to create the illusion of seeing through the strawberry, I had to create a more colorful background than the original image had. I used the gradient tool, brush, and smudge tool to create the background seen in the image to the right. The background is the 3rd image on the right.
I then used the lasso tool to cut out all of the strawberry's seeds. I copied the new seed layer and set them both to
 overlay. On the layer copy I mirrored the image and lowered to opacity as these are supposedly the seeds on the other side of the bubble berry. I created a layer mask on the two layers with the liquefied bubbles, and made them a little more see-through. I also added some more leaves from another stock image that can be seen through the bubble, as well as a reflection of the original leaves.
 For the final result I made the background quite a bit darker, and manually added some highlights with the brush to make it look more like a bubble. I still don't think it looks much a bubble though haha. The problem with some of these tutorials is they're really specific to the stock images the author used. In retrospect I should've just used the same image, cause his strawberry has natural highlights that make it look more bubbly.
No comments:
Post a Comment